Table of contents
Next.js is a React framework that allows you to build many types of applications, while allowing you to use techniques like server-side rendering or static site generation. Authentication and Authorization are important features to ensure that users are who they say they are and that the user's requested behavior is allowed. In this tutorial I will be using Auth0, however there are many options for auth in your Next.js application, with providers such as Next-Auth and Firebase.
To begin, you will need to login to the Auth0 Dashboard. We want to create a Regular Web Application, so select that option from the list of choices. Then we specify the technology we are using for our project, which is Next.js for this tutorial.
We should now be able to collect the Environment Variables that we need to setup our application for development and eventually production. There are 3 important details we need to make a note of:
- Domain
- Client ID
- Client Secret
There are also some settings we have to update in the Auth0 Dashboard. In the Application URIs section, we have to add http:localhost:3000/api/auth/callback to our allowed callbacks. We will implement this later on. We also have to add http:localhost:3000 to our list of allowed logout URLs so the user is returned to the home page after they logout.
If you you want to add Auth0 to an existing Next.js application that you built, then the next step is to add the Auth0 Next SDK to your project:
npm install @auth0/nextjs-auth0
Now we can configure the Auth0 settings in our .env.local file:
AUTH0_SECRET='use [openssl rand -hex 32] to generate a 32 bytes value'
AUTH0_BASE_URL='http://localhost:3000'
AUTH0_ISSUER_BASE_URL='https://YOURS_HERE.us.auth0.com'
AUTH0_CLIENT_ID='YOURS_HERE'
AUTH0_CLIENT_SECRET='YOURS_HERE'
By running the command openssl rand -hex 32 you should be able to generate a key that can be used as your Auth0 Secret.
For now, the AUTH0_BASE_URL should be http://localhost:3000, since we are working in a dev environment, but we will add the actual URL for our app when we are ready to deploy.
Remember the 3 pieces of information we collected from the Auth0 dashboard, this is where they come into play. The Domain, Client ID and Client Secret match the AUTH0_ISSUER_BASE_URL, AUTH0_CLIENT_ID, and AUTH0_CLIENT_SECRET respectively. Change out these values for the ones you made a note of earlier.
Lets now add a dynamic api route so that we can test our application. In the pages directory create a folder called api and within that folder create a folder called auth. Next.js allows the use of dynamic routes with the use of []. Now in the pages/api/auth directory, create a file called [...auth0].ts. This file is where the magic happens!
// /pages/api/auth/[...auth0].ts
import { handleAuth } from "@auth0/nextjs-auth0";

export default handleAuth();

// handleAuth creates the following routes
// /api/auth/login -> route used to perform login with Auth0
// /api/auth/logout -> route used to log user out
// /api/auth/callback -> route Auth0 redirects user to after successful login
// /api/auth/me -> route to fetch user profile from
In our [...auth0].ts file, we export the handleAuth() function, which dynamically creates the auth routes for us that handle the user login, logout, callback, and profile.
To access this user that we are getting from the login with Auth0, we have to implement the UserProvider. We can wrap our application in the UserProvider from the _app.tsx file.
// /pages/_app.tsx
import type { AppProps } from "next/app";
import MainLayout from "components/layouts/MainLayout";
import { UserProvider } from "@auth0/nextjs-auth0";

function MyApp({ Component, pageProps }: AppProps) {
  return (
    <UserProvider>
      <MainLayout>
        <Component {...pageProps} />
      </MainLayout>
    </UserProvider>
  );
}

export default MyApp;
Now that we can access the user from the different components within our application, we can implement a login link.
<a href="/api/auth/login">
  Login
</a>

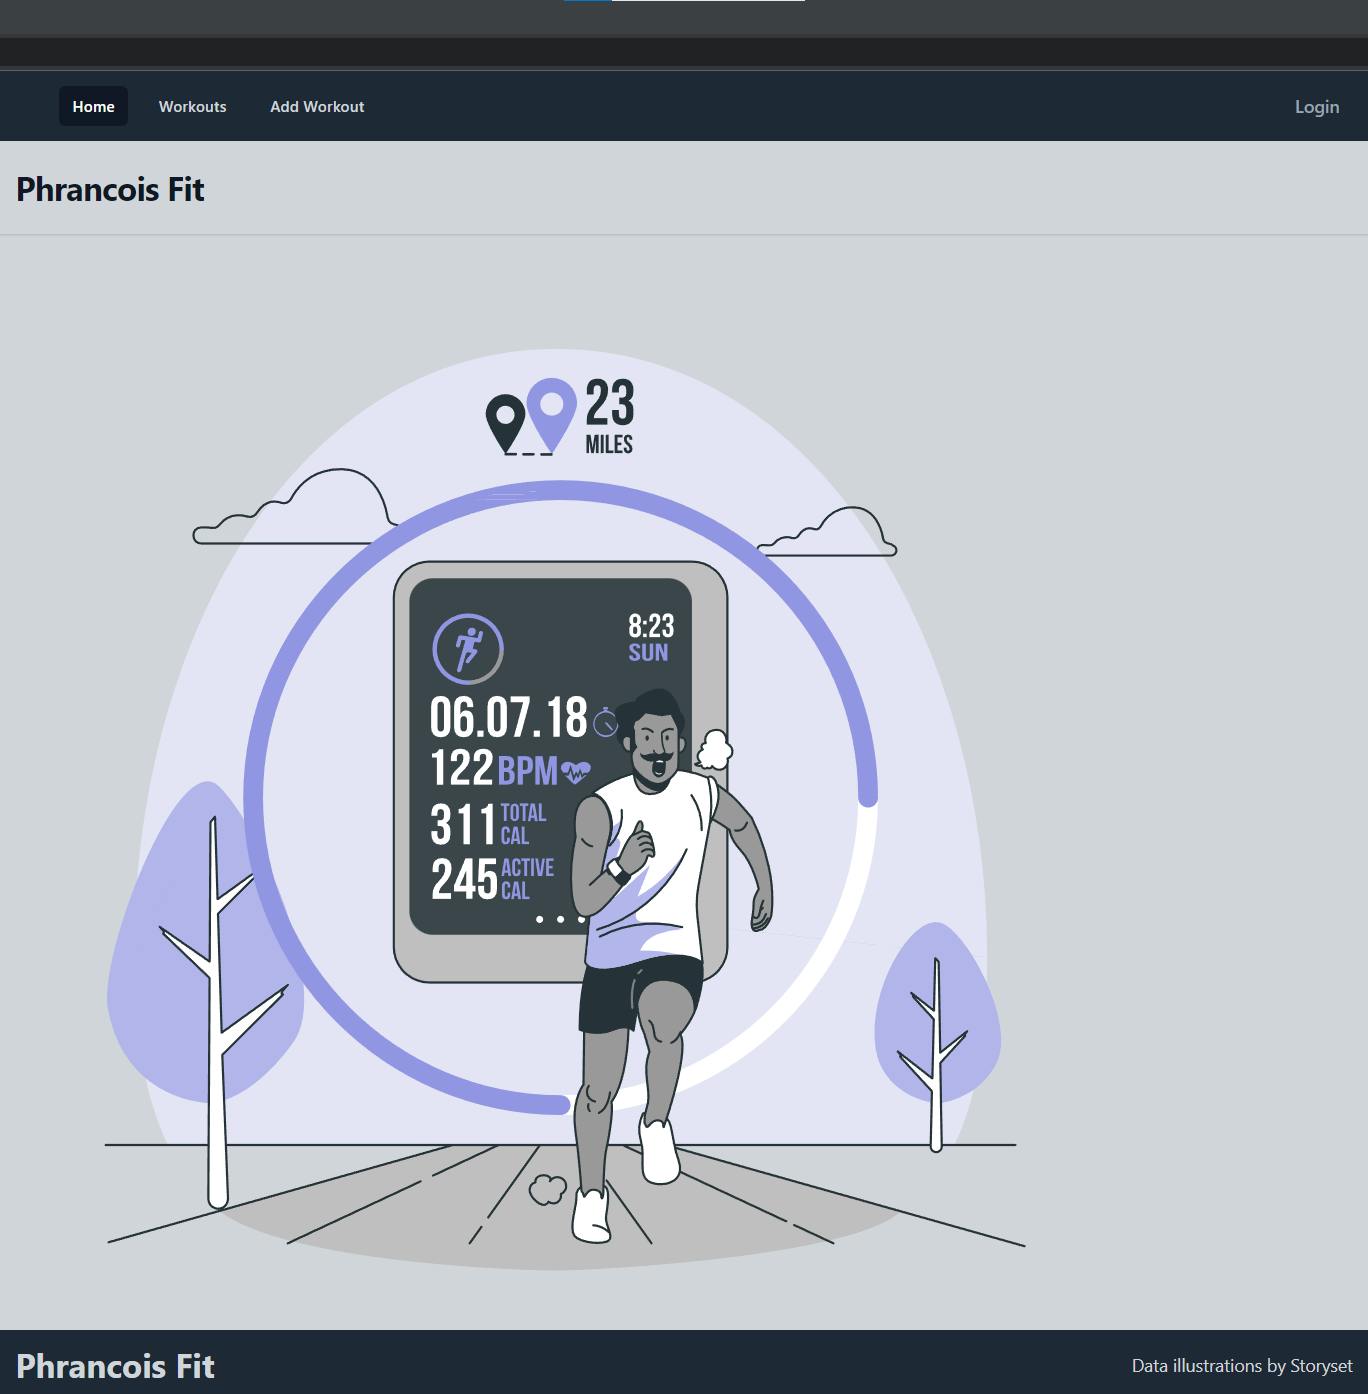
If a user clicks on this link, they will be taken to a login page for our application!
Remember that it is also important that we allow users to logout. We should also add a logout link.
<a href="/api/auth/logout">
  Logout
</a>

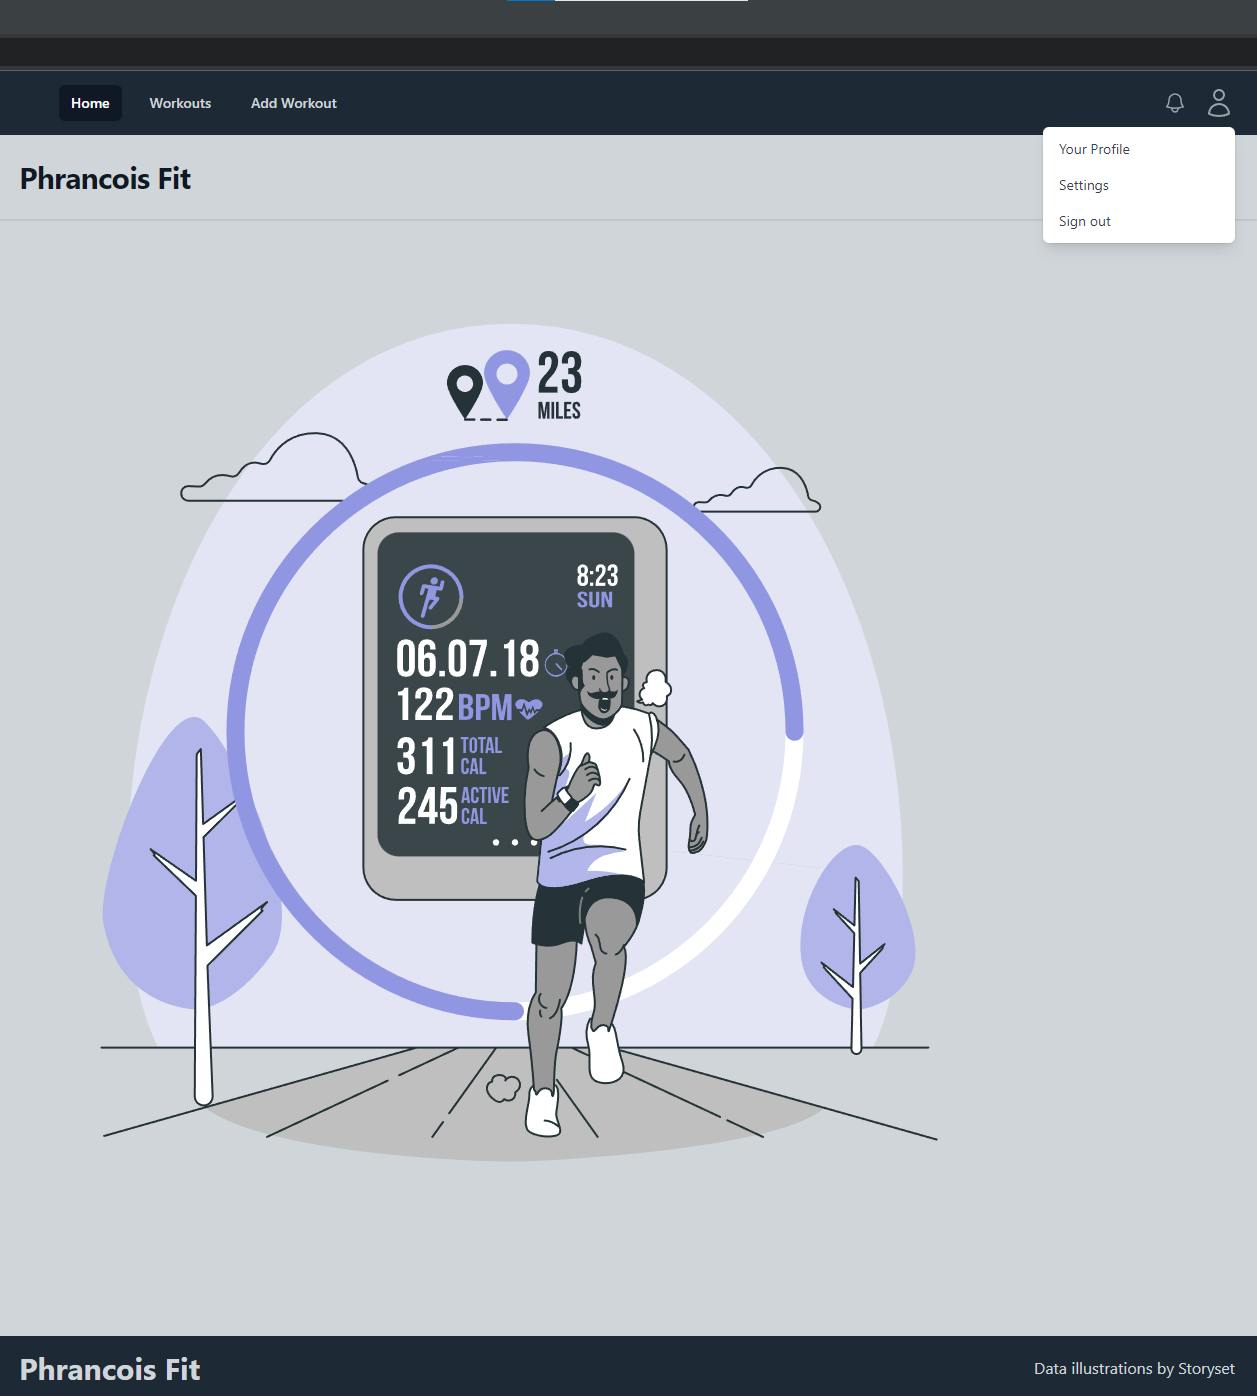
It is now super simple to implement authentication in our app with conditional rendering. For instance, if we only want a certain part of our UI to be displayed when a user is logged in, we can use this syntax to conditionally render that component.
import { useUser } from "@auth0/nextjs-auth0";
export default function MainLayout() {
const { user} = useUser();
return (
{user ? ( <div>Welcome to Home Page</div>
) : ( <a href="/api/auth/login">Login</a>)}
}
The useUser hook allows us to get the user and their info from Auth0. Additionally we can display a message for our users while the data is loading.
import { useUser } from "@auth0/nextjs-auth0";
export default function MainLayout() {
const { user, isLoading } = useUser();
if (isLoading) return <div>Loading... Please Wait</div>
return (
{user ? ( <div>Welcome to Home Page</div>
) : ( <a href="/api/auth/login">Login</a>)}
}
Finally we can use this to display information about our users.
import { useUser } from "@auth0/nextjs-auth0";

export default function Profile() {
  const { user, isLoading } = useUser();
  if (isLoading)
    return (
      <div>
        <h1>LOADING... Please wait</h1>
      </div>
    );
  return (
    user && (
      <>
        <h1>Profile</h1>
        <div>
          <img src={user.picture!} alt={user.name!} />
          <h1>{user?.name}</h1>
          <p>{user?.email}</p>
        </div>
      </>
    )
  );
}
Production
To ensure your project works in production, you have to update your allowed callback URLs and allowed login URLs with your sites domain, replacing the localhost:3000 we used in development. We also have to update the AUTH0_BASE_URL to our production URL and make sure the hosting platform that we use has access to our Environment Variables.
We should now have functional auth in our Next.js application!

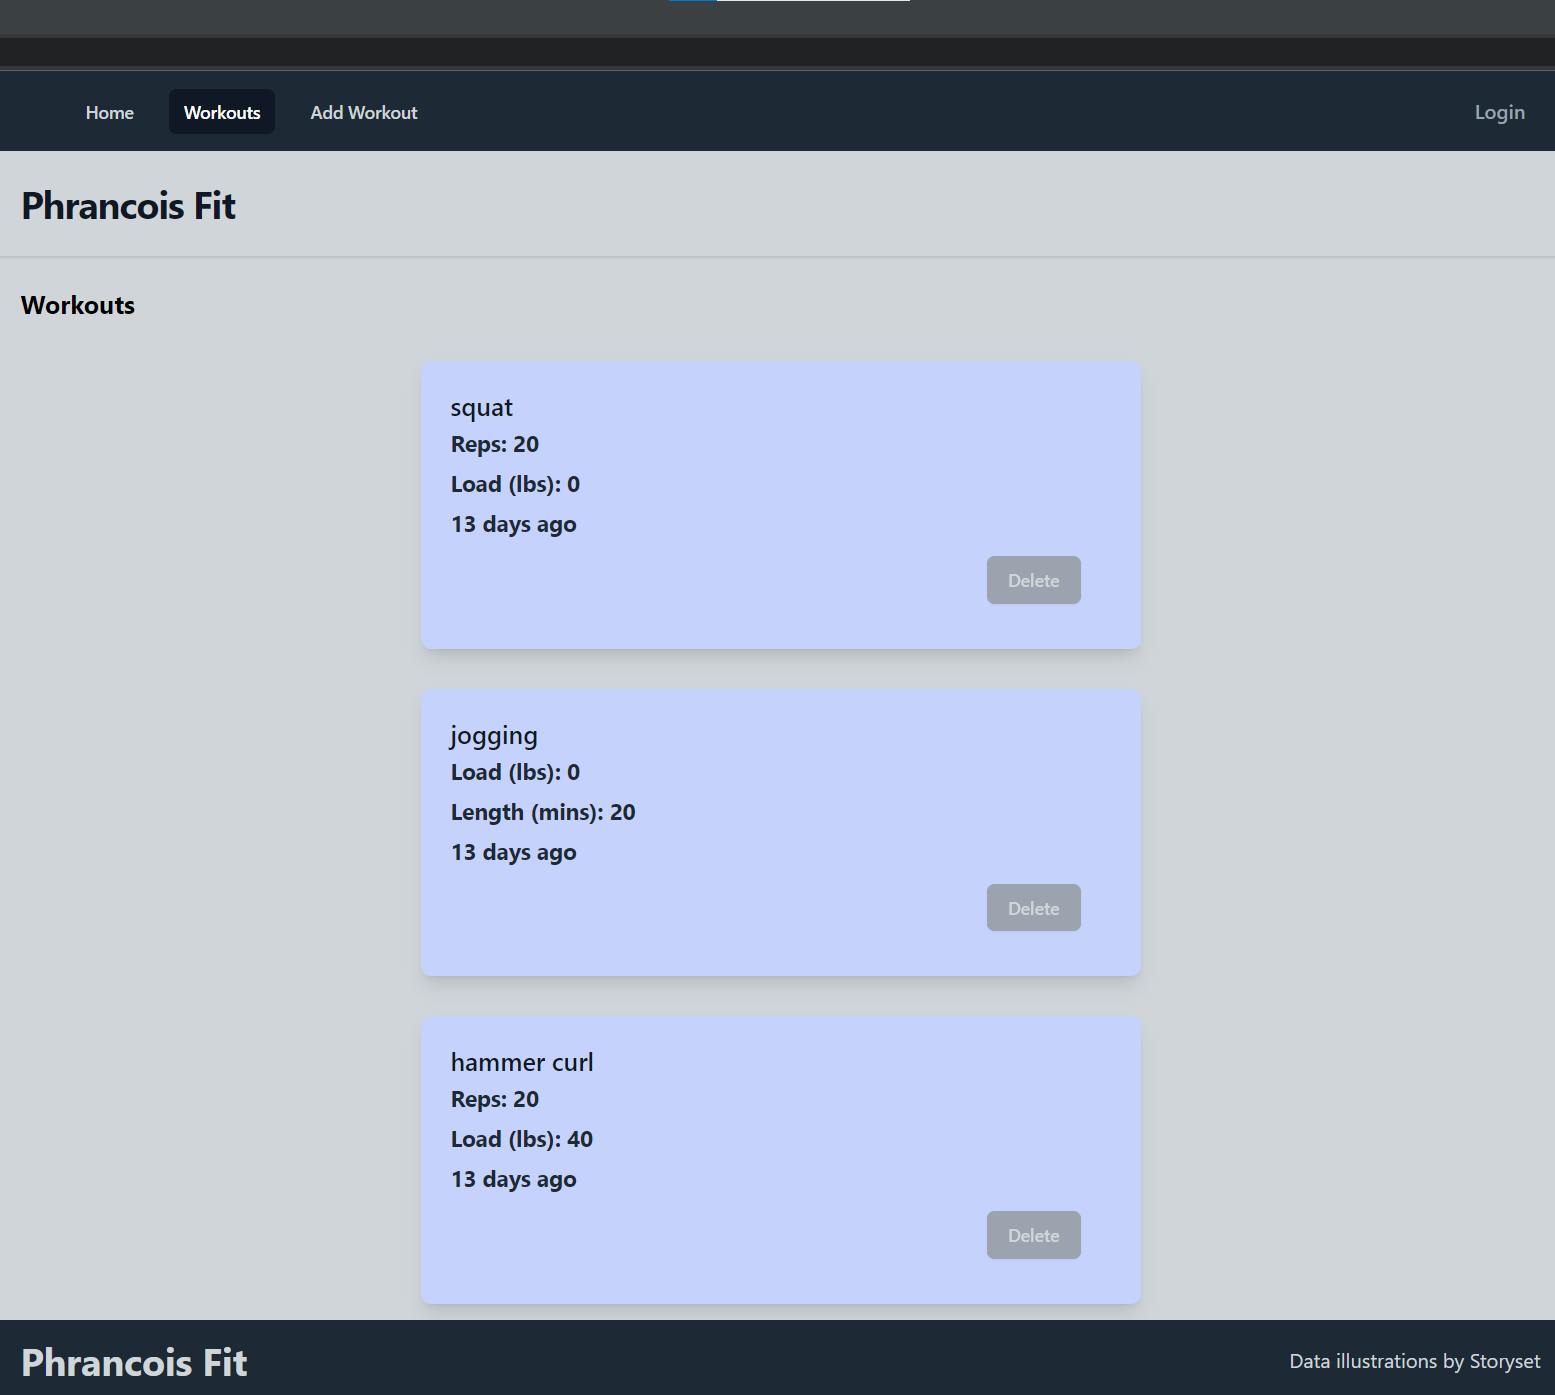
<button disabled={!user} type="button">Delete</button>
You can check out the Next.js web application where I implemented Auth0 for this tutorial at: PhrancoisFit

